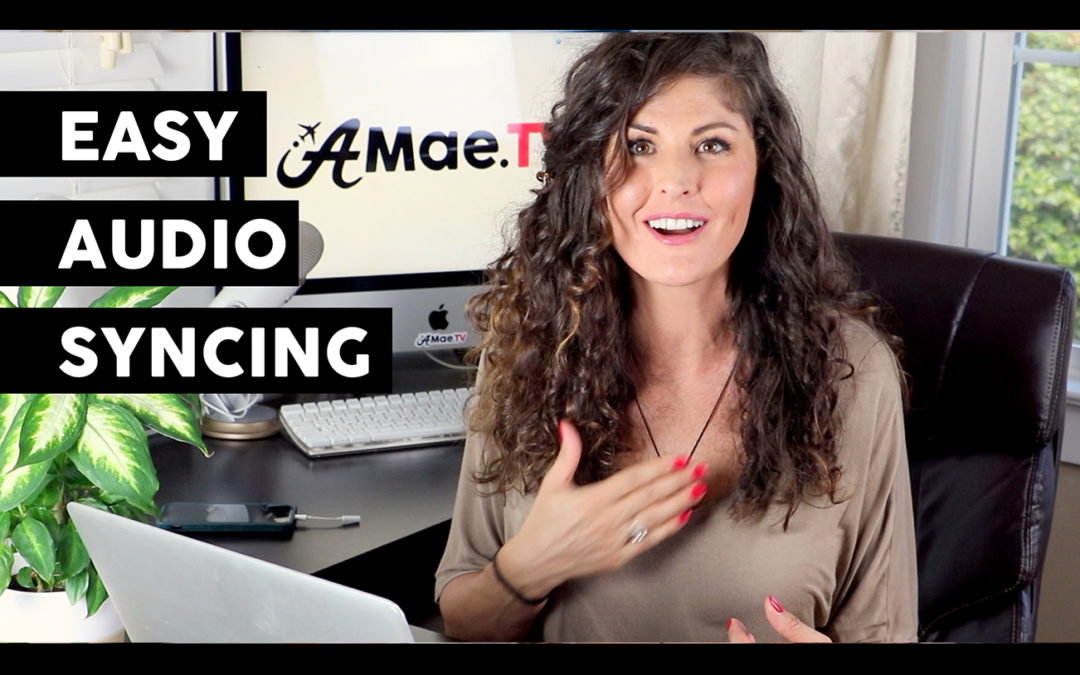
I’m finally fulfilling the request to demo how I sync my audio to video! I will show you exactly how I record professional sounding audio on my phone, and then sync it to video shot with my Canon G7x.
In fact, this audio could by synced with footage from ANY camera.
With the help of a small lav mic clipped to my shirt, I record audio right into my iPhone. It always sounds nice and close, and much warmer than a typical echoing room.
This technique also allows for a lot of flexibility while filming because the mic is placed on me, rather than on the camera.
I don’t have to worry about how much I move around in front of the camera, or my distance away from it at any point.
This technique requires your iPhone, the Rode Rec app, and a quality LAV MIC. It also requires a bit of patience, as these things always feel weird at first.
TIP: Just have fun with it! You can get better at these techniques by practicing them again and again until it is second nature to hook up a lav mic whenever you feel it is needed.
Recording audio this way will definitely up your studio production game, and I may even teach you something fun you can do with it while filming ‘in the field’

The most interesting part of the video- besides when I show of my sweet precious baby Ella- is when I demo the difference between the audio recorded with the Lav Mic, and natural ambient audio recorded onto the Canon T6i in a quiet room. WOW!
WATCH ▶︎ How To Record Professional Audio on your iPhone, and Sync It To Any Video
Sharing this is exciting, because this technique resolves one of the biggest problems people have with the Canon G7x– The lack of an external audio input.
Everyone agrees that the G7x is the BEST vlogging camera- for the size of this point and shoot, it offers a LOT more than others in its class. However, many G7x fans also agree it would be much better if they could capture nice audio on it.
I start out with some back story about this video, since so many of you requested it from THIS video.
Canon G7x: Vlogging Issues & Concerns
Steps to Record and Sync Audio To Video
As promised, here is a list of the steps you can take to complete this audio sync. You will find further elaboration on each step in the video. Leave a comment over on YouTube or here on the blog if you’d like more information on how to expertly sync audio to video.
Part I: Record Professional Audio on your Phone
1. Get a Rode Lav Mic
It’s not the most expensive lav mic on the market, but it’s certainly not the cheapest. This is a high-quality mic that will get the job done- MUCH better than a cheap one that will likely only rival the sound coming from your camera.
Grab yours HERE
2. Download the Rode Rec App from the Apple Store
I think it costs $5.99. According to Rode, you can record this audio to any sound recording app, but I’ve never tried any others. I think it’s neat to use the one they made specifically for the mic. Note that this app is ONLY for the iPhone, however I’m sure there is something similar out there made for non-iPhones.
3. Tap the + to begin a new recording
Think of it like opening a new file, one that will become the recording.
4. Tap ‘Details’ to change the name of the recording
It’s important to stay organized in ALL of film file handling. Name the file something memorable, or something technical, just name it something!
5. Tap ‘Settings’ – ‘Input’ to raise the mic gain a bit (if necessary)
For some reason, I always need to do this to make it loud enough. Definitely do your own sound checks and experiments to see what sounds best. This app has a TON of other audio tweaking options too.
6. Attach Lav mic to your shirt
It never looks too great on the things I wear.
7. Begin recording and do a mic test
Testing, testing… You know the drill.
8. Close screen and place iPhone in your pocket
Yikes. This seems scary, but don’t worry, the mic is still recording even when the screen is BLACK.
9. Turn on your video camera
Finally!
10. CLAP
👏👏👏Just once will do.
11. Begin your video
Action!
Part II: Sync Professional Audio to Any Video
1. Open your video file in the editing platform
Always the first step in editing.
2. Transfer your audio track from the iPhone to your computer
Details are in the video.
3. Line up the waveform peaks on the clap
This is the MAIN thing. This is the audio sync!

4. Play the track and listen for an echo to indicate an improper sync
Echos are not welcome here guys.
5. Adjust as necessary
Make it – P E R F E C T – please.
6. Once synced, turn off the ambient audio track
Goodbye bad audio.
7. Nest the files by selecting both- control click, ‘New Compound Clip’
Here is where they become ONE.
8. Begin to edit the synced file
Now you may edit.
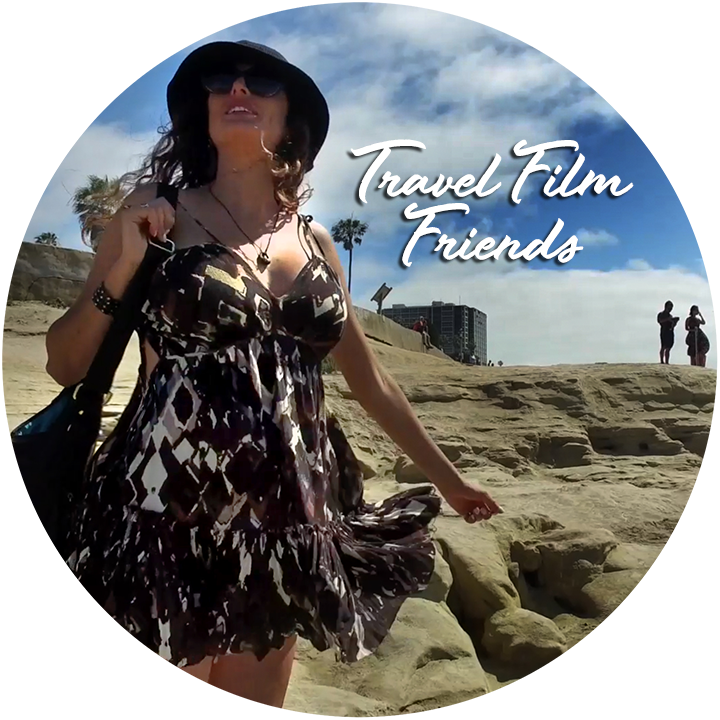
I hope you all enjoyed this! If you’d like to join my community of travel vloggers and aspiring travel filmmakers then hop on over to my private Facebook Group- Travel Film Friends. I’ll see you there!
xx, Alicia