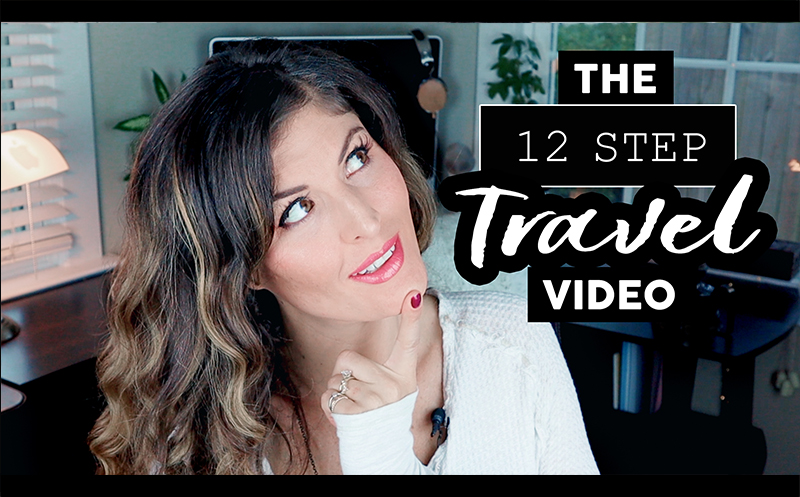
Want to learn how to make a travel video, step by step?
How many steps does it take anyway?
After making about 100 of these things, I’ve determined there are 12 general steps involved.
Understanding each of these steps is your first step to becoming a better travel vlogger!
In this video, I outline each of the steps, their importance, and how they impact your travel vlogging workflow. This video touches on everything from preparing your gear to color grading your video and branding your travel vlog. By the end of this post, you’ll know exactly how to make a travel video, so you can get out there and get started on your masterpiece!
I’d love to hear which of these steps is your favorite, and which one you’d like to learn more about.
Leave me a comment here on the blog, or on the video and let me know!
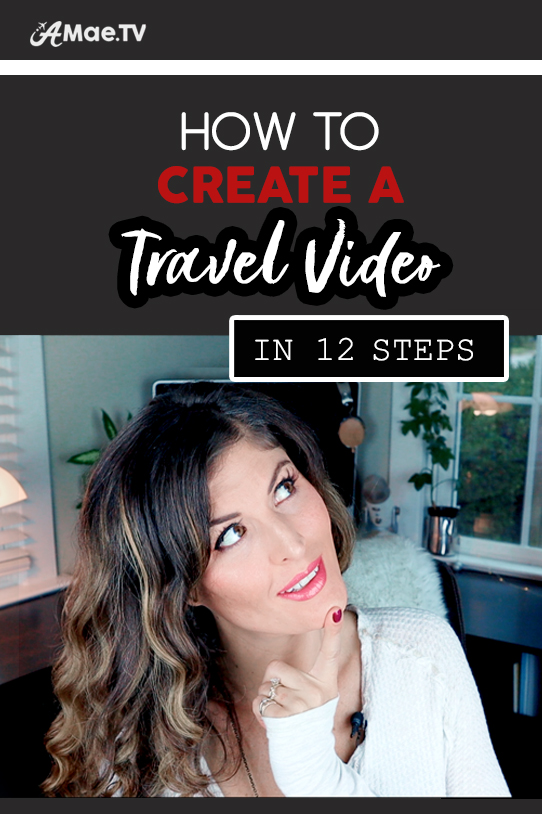
WATCH ►How To Make A Travel Video – 12 Steps BROKEN DOWN
► COLOR GRADED with AMaeTV LUTS
► Music by ART LIST
Join with this link for an extra 2 FREE months on your subscription
1. Travel Video Pre-Production
This first step is likely what you would do before going on any travel adventure.
You might want to research fun things to do there. You might want to schedule a tour or buy tickets for an event or excursion in advance. You might read up on the city so you have some handy facts to share in your vlog, OR you might absolutely do none of this and just have a day where you wing it.
Either one works, but I warn you, winging it will result in a little more work to do in post production.. so I suggest you plan a little.
2. Preparing Your Video Gear
So you’ve got a plan and you’re ready to go vlog! No you’re not.
It’s time to get your gear prepared and most importantly, CHARGE EVERYTHING. You’ll also want to clear out and test your SD cards so you don’t have any issues in the field, as well as pack extra SD cards along with batteries, battery packs, all the correct cables, gimbals, hand grips, A Roll cameras, B Roll cameras, international voltage adapters, and more.
Actually, the toughest part about preparing your gear, is making the cuts on what NOT to bring. You’ll find LOTS of talk on this channel about travel vlogging gear so I encourage you to check out some of those videos.
3. Filming
So here you are, filming your day! Whether it’s vlog style just documenting what’s happening as it happens, or it’s a full on pre-produced discovery of a place, this is where you put those cameras to work and gather your footage.
You’re going to want to mix your on-camera discussions with shots of what you’re talking about or doing.
Of course, you can also mix in all sorts of creative shots with different cameras and lenses, OR go for that cinematic look.
By the way, I created a free PDF document that expands on this a bit, it’s called MY TOP TRAVEL VLOGGING TIPS and you to download it HERE.
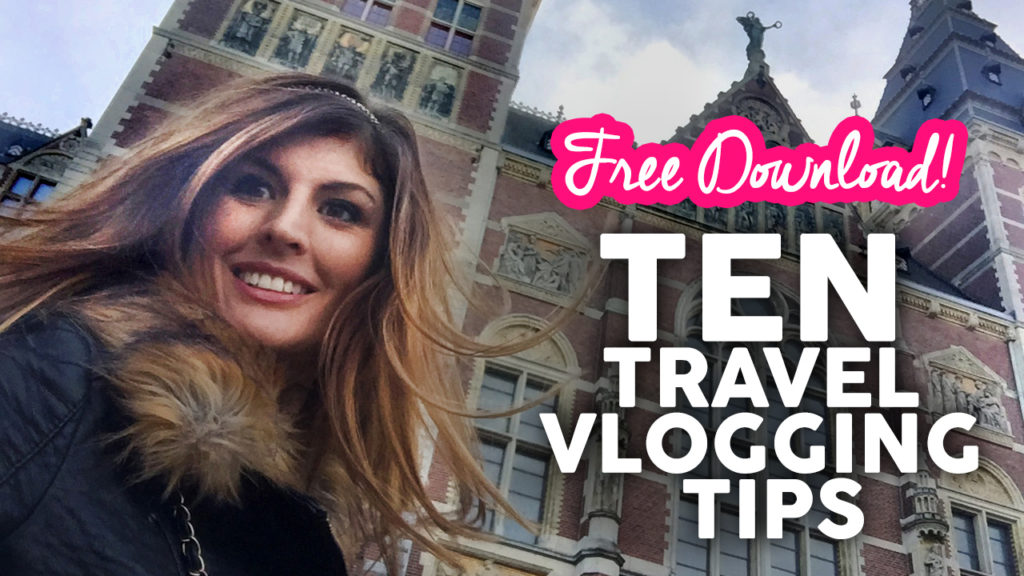
These tips are different from the steps you’ll find in this video, and I encourage grabbing it if you want to really UP your travel vlogging game.
4. Video File Management
So.. You’re home now, and you’ve got your gear scattered about, still cooling down from the day. It’s time to pop out all those SD cards, and transfer the files onto an external hard drive where they will all live together in one place.
This process can be annoying and maybe confusing at first, but trust me, getting a system together and making a ritual out of doing this will pay off.
You’ll no longer have to search for footage, or question if things are backed up, because you can always rely on your system to know exactly where things are.
5. Rough Cut Video
This is my absolute FAVORITE part of the process besides the actual production part. It’s when you create a new timeline, import your footage, and start watching those clips for the first time.
During the rough cut you would pick out the potentially usable parts, and then roughly assemble them into the timeline.
It’s so fun because it’s the first time you get to see your work! And also re-live the experience.
Also, just to get everything super clean before any I work more with the clips, I will kill the audio on the B Roll and add little fade outs on clips that I know need the ambient noise faded after I’m done talking. Watch the video for a quick demo of this process
6. Story Line Management
Your next step is creating a storyline and adding supporting elements.
This step can be quite easy, especially if your vlog simply follows a linear timeline of the day, and you were REALLY focused on that story line in the field and able to tell it well.
But, if you’re creating something more abstract, or just working with a bunch of footage to try to put it together and pull a story line from it, then you may have some extra work to do.
Or if you’re like me, especially in the beginning, and just sort of leave out a lot of details that you realize would have been helpful.
This is why you would add supporting elements like voice overs, extra titles, and this is also where you’ll add some B Roll, to illustrate the things you are talking about.
I will say that I relied HEAVLY on these supporting elements when I first started travel vlogging,
I was not in the habit of elaborating on details while I was traveling and filming, so voice overs really TELLING the story later were very helpful.
Just know, that what you DON’T take time to do in the field, you will spend a LOT of time doing in post.
By the way I know I’m just briefly touching on each of these steps, but I’d love to share more information with you about them. So leave me a comment that says MORE ON #5 PLEASE! Or whichever you’d like to learn more about 🙂
7. Add Music and Sound effects
Ahhh, the music. It’s REALLY what brings it all together.
You can select a piece of music in advance. You’ll have to find a royalty free piece, in YouTube’s Audio Library OR, to avoid using the same music as many other YouTubers, you can join a royalty free site and hunt for something more interesting.
Personally, I love ART LIST and have been using their music for many years.
In my travel vlog editing experience, it’s when the music is added that the entire piece really comes alive.
Sound Effects are another great way to add a little extra feeling to a vlog.
8. Sequence Editing
Ok, HERE is the fun part. Or one of the many fun parts. It’s editing those super creative cinematic sequences, or generally any other chunks of the video outside of the parts where you’re simply relaying a storyline to the camera.
This is really your time to SHINE as a visual creator.
These parts are usually heavily synced up with the music, so this step and the step before it can be interchanged rapidly or executed together for the most part if you like.
9. Audio Balance
This is something a LOT of YouTubers don’t do, or fail to do well. I’ve been guilty of it myself in the distant past.
Generally it’s when your background music is too high, and your speaking parts are too low, or one clip is WAY louder than the others. If you’re filming on different cameras with different mics, they might come out different, so you need to balance all of that.
You want to carefully go through the whole video with JUST audio in mind.. and make sure you’re not smashing the reds in the audio levels.
In fact, after you’re sure that the audio waves look good, just LISTEN to the video without even watching. Or try listening with headphones and see if your ear picks up on anything. It’s much better to do this now, then realize once it’s uploaded that you’re screaming in one clip and whispering in another.
10. Color Grading
This is what we’ve all been waiting for!
First you’ll want to generally just FIX things in the clip that aren’t so great. You might raise the exposure, or add some contrast or saturation to make things prettier.
Then to make it interesting and ‘cinematic’, you can continue to tweak the colors on your own if you’re familiar with this process.
Or, if want some AMAZING color without the hassle of extensive color grading, you can apply a carefully crafted LUT. This is basically a professionally created preset or filter for video.
These can make your videos look AWESOME, and I have recently launched my very own LUTS pack for public consumption!
Check out my SHOP page for all the information on how to make a purchase.
Or, here is a detailed video explaining color grading and introducing my LUTS.
I would LOVE to see you using my LUTS, so let me know if you decide to make them a part of your workflow and I will definitely check out the videos you create!
11. Fine Tuning
Fine tuning is a whole mess of activities.
It involves:
- Tweaking your B Roll sequences to make sure they are positioned perfectly.
- Editing your jump cuts that are SO helpful to speed up dialogue, IF you choose that quick snappy style.
- Applying transitions and effects like image stabilization to clips that are shaky, IF they are a candidate for it, you have to be careful with this.
I made ‘fine tuning’ into just one step but you can definitely spend HOURS on it.
In fact, Step 11 is where perfectionists go to DIE. I certainly have died here many late nights before.
It’s certainly not necessary to make every tiny detail in a video perfect, however paying attention to the little things can have a big effect on presenting a professional piece in the end.
12. Add Branding
This one is easy provided you do have your channel branding created and ready to go.
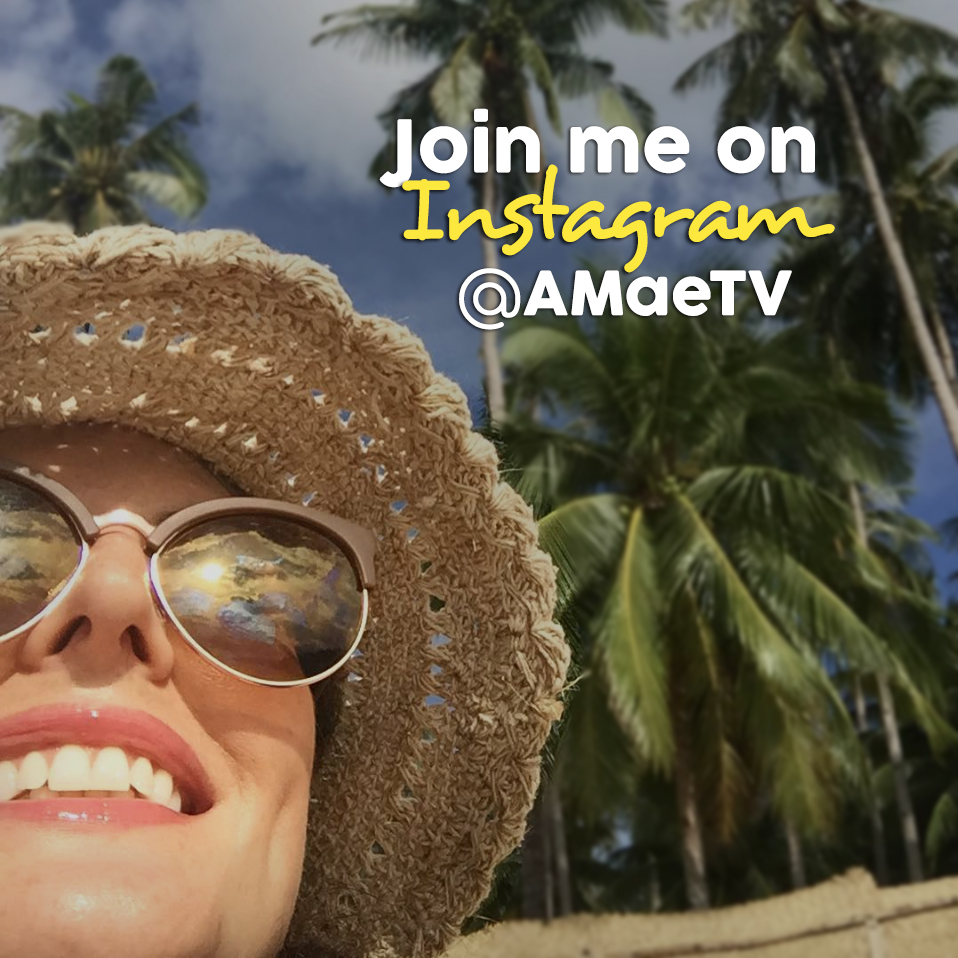
I keep white .png file of my logo fitted to a certain place in the screen that runs across the whole video. I also have a standard Instagram title.

It’s says AMaeTV, but what it really says is HEY GUYS please come follow me on Insta because I post nice pix and stuff.
You really can add branding in at any time but saving it till the end will ensure it doesn’t get in the way of everything else going on in your editing timeline.
So that’s it friends!
I’d love to hear which of these steps you most love to do, and which you’d like to learn more about. Leave me a comment below so I know what to help you with next.
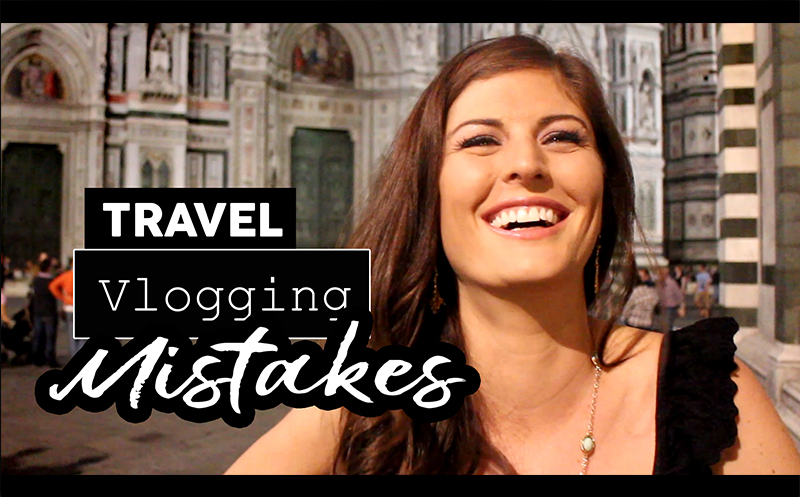
You may also want to check out another new video I made called >
5 MISTAKES new TRAVEL VLOGGERS make + how to avoid them
If you enjoy these types of videos and you’re not subscribed to AMaeTV yet, please do so. That way you can catch all my latest travel videos- which always talk about the production involved.
xx, Alicia
PIN ME ▼
How To Make A Travel Video – 12 Steps BROKEN DOWN